G50 Transmission Mount Replacement
- joepampel
- Feb 21, 2023
- 4 min read
Updated: Jun 9, 2023
The earlier (pre-86) 915 transmission in the 911 Carrera used the same mounts that are used for the engine. The later cars with their Getrag G50 used a cross bar to support the nose of the transaxle and it had pressed in bushings that were not replaceable. The original idea was you would replace the whole bar, which these days is either unavailable, or over US$2,000 or you buy one used. Or you buy a press for a tick over $100, and new bushes for about $150 and go have a car date in your garage.
Rennline makes a set of 2-piece replacement bushings for it that are the same hardness as the stock Porsche bushings; you just need to get the old ones out. I have seen a few different approaches on-line including flames and saws. There is no need to resort to violence.
Following this procedure below, I was able to complete this work in about an hour. I wasn't even done with my beer. It should be a very simple job if you have the correct tools, and they are not expensive. And if you are lucky, you get to purchase a new tool.
Tools:
* Bench top hydraulic press (mine is 6 ton) & 13/16" socket (or whatever fits your press best)
* 13mm & 19mm socket to remove cross bar
* Torque wrench
* Method to jack the car up safely and an additional jack and rubber pad to support the transaxle. I also added a large jack stand behind the jack on the transaxle, just to be extra careful.
Procedure:
* I raised the car up on my Quickjack to the highest setting and locked it
* I used a small floor jack with a pair of rubber blocks to support the transaxle
* I loosened up the small nuts/studs that mount the bar to the transaxle and then loosened the bolts that connect it to the car. The key is to make sure it does not want to move. Lining it back up could be a pain.
* Once I was satisfied that the transaxle did not want to move, I unbolted the cross bar, noting its position (it is asymmetrical)
* I pressed out the old bushings carefully - wear safety goggles. They fly out when they go. Luckily they fly downwards. Use caution.
* Clean the bar as needed once the bushes are out.
* Start the bolts and nuts with your fingers - just enough so it doesn't fall on your head. When lining up 6 different holes, keep them all really loose until they have all been started. Luckily Porsche used conical shaped bolts to connect the carrier to the body and the transaxle has 2 studs which don't come out to help you line things up. I started with the 4 in the middle to support it evenly before adding the chassis mounts on the end.
* Assemble the 2-piece bushings with the large washers and start the bolts with your fingers
* Tighten the little nuts to 18 ft lbs and the big bolts to 58 ft lbs. (per Bentley)
* Lower the car and go have a test drive.

Luckily? I had to really scrub things looking for my oil leak, so at least it isn't very greasy. Here we are about to start

Not sure how the cross bar gets this dirty, but it did. The good news is it is still bone dry after cleaning up and resolving the oil leak.

I used the quick jack to hold the car up and this jack with some rubber blocks to support the transaxle. It's important that it does not want to move when the cross bar comes out.
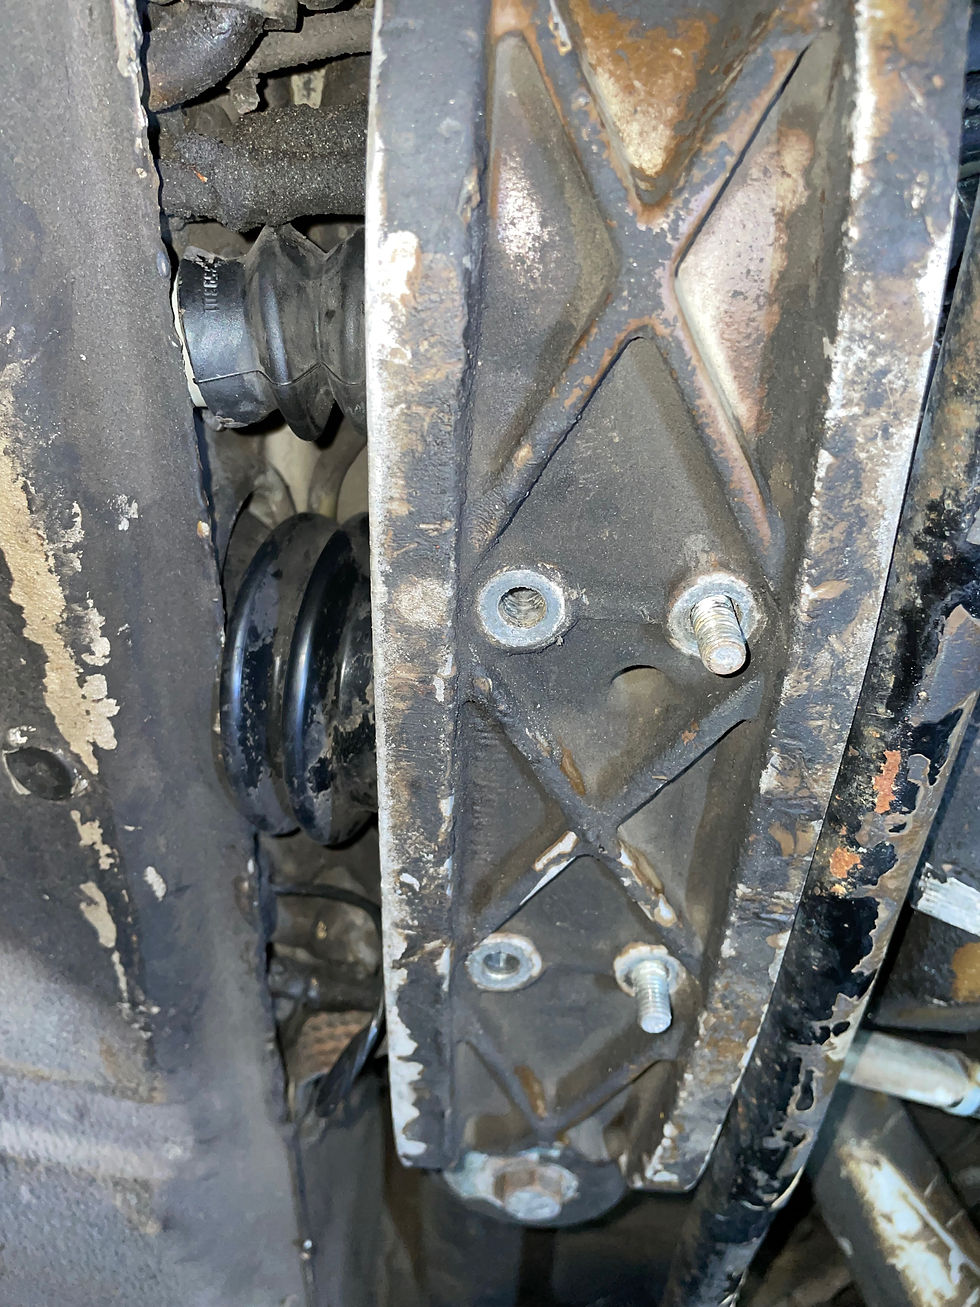
2 studs, 2 nuts. Then the two big bolts and it comes out. Nothing was rusty or tight here.

And the cross bar is out. Before I removed it I test fitted the bolts back in to make sure things had not moved and I would be able to put it all back. The bushes have huge dished fender washers on top and bottom. The side of the bushing with a bit more metal protruding goes up.

The underside of the transaxle

It is a good practice to make sure the press is just a bit bigger than the thing you are pressing in a case like this, to avoid movement. In my case a 3/8" 13/16 socket is just bigger than the steel insert and also fit over the hydraulic press.

We've covered the metal with a little extra and still have lots of rubber we can deform to drive this out.

Pressing it out is quick and easy, just be aware that even going slow, they will fly out the bottom when they go. Wear goggles and use caution.

The bushes came out very cleanly for me. I had used an awl to mark the orientation of the bar

The new Rennline bushes come in 2 parts.

The bar is about as clean as I can get it for now, so I re-assembled it.

The bar back in the car and torqued down. Even stopping to clean the bar and take these pictures it still only took about an hour. I did scrub it off with a brass brush, some grease cutter and then some gasoline (wearing gloves, of course) and it was going to take too long. It really needs to be vapor blasted or something. It has very thick & gummy layers of old oil and grease on it.
[UPDATE] It looks more like that base coating (the amber/brown) is the undercoat which is used to protect the car during overseas shipping (and after), Tectyl, which also explains why it's so hard to get off. And then there is the question of whether it is a good idea to remove it if the car is getting driven.


Comments