One thing that you get really hammered home with an older car is just how many different things there are there that can stop working. It is truly astounding. There are over 20 light bulbs, just as an example, and any of them can burn out. Even your seats have switches, wires, motors, gears and cables. And they can break, of course.
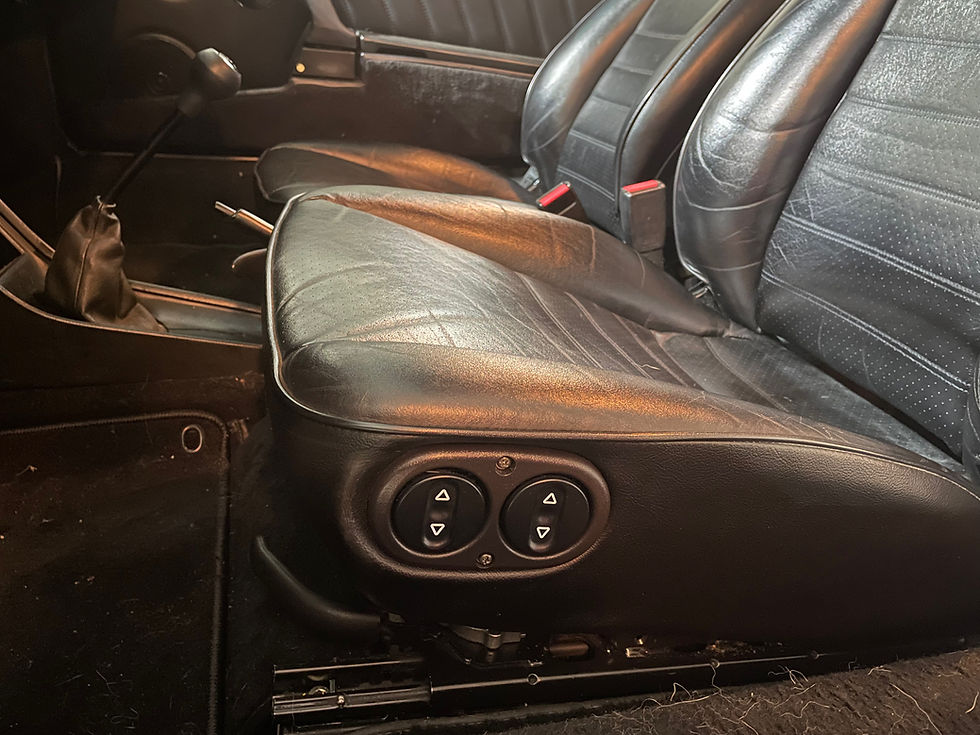
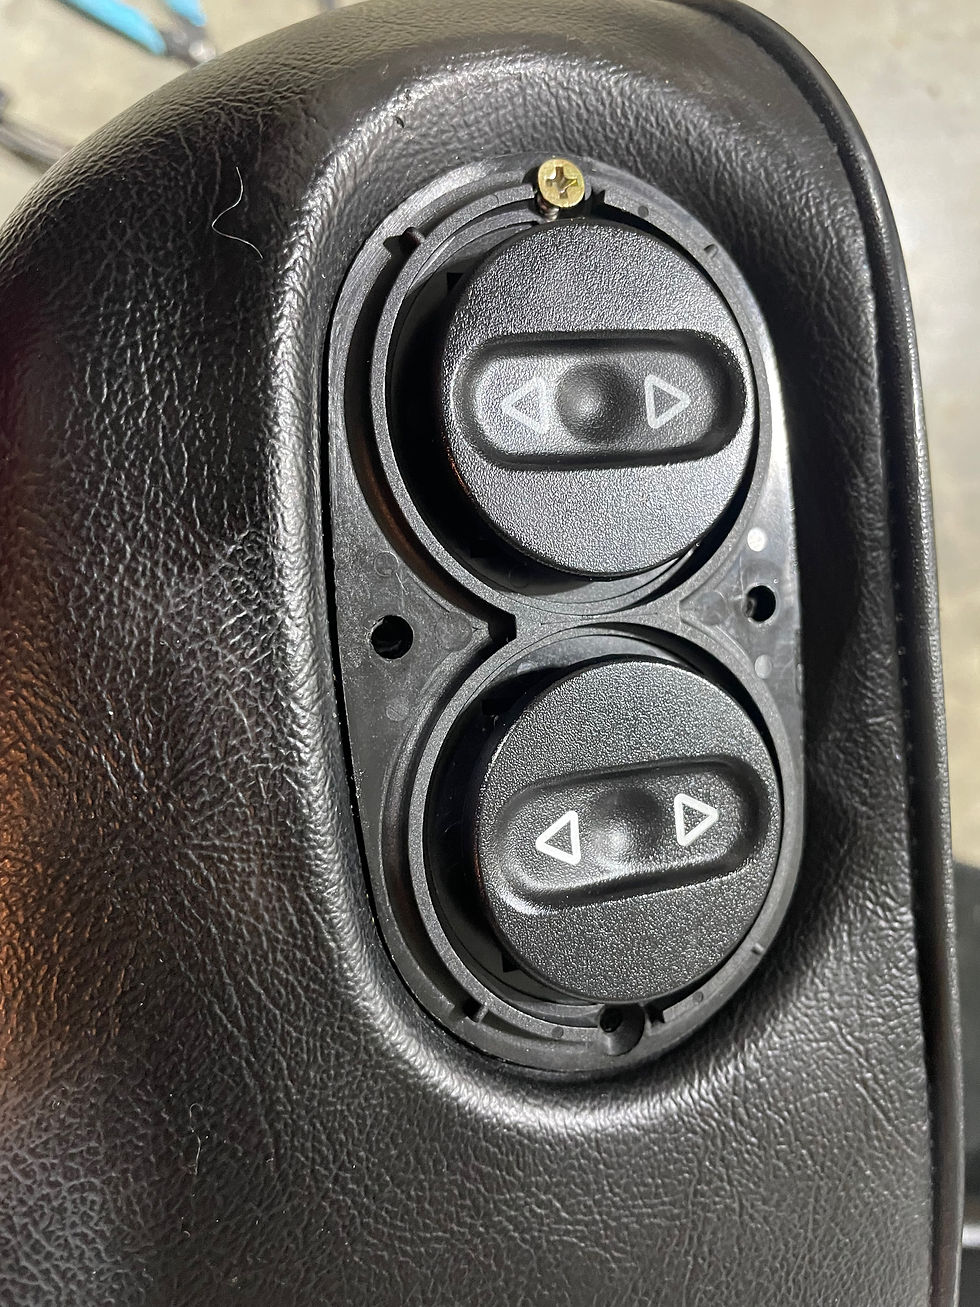
So while my power mirror demanded immediate attention - it was not only useless but falling off the car - I have spent the last year living with a partially powered driver's seat. The front switch only worked in 1 direction. I had bigger fish so I left it. Until now.
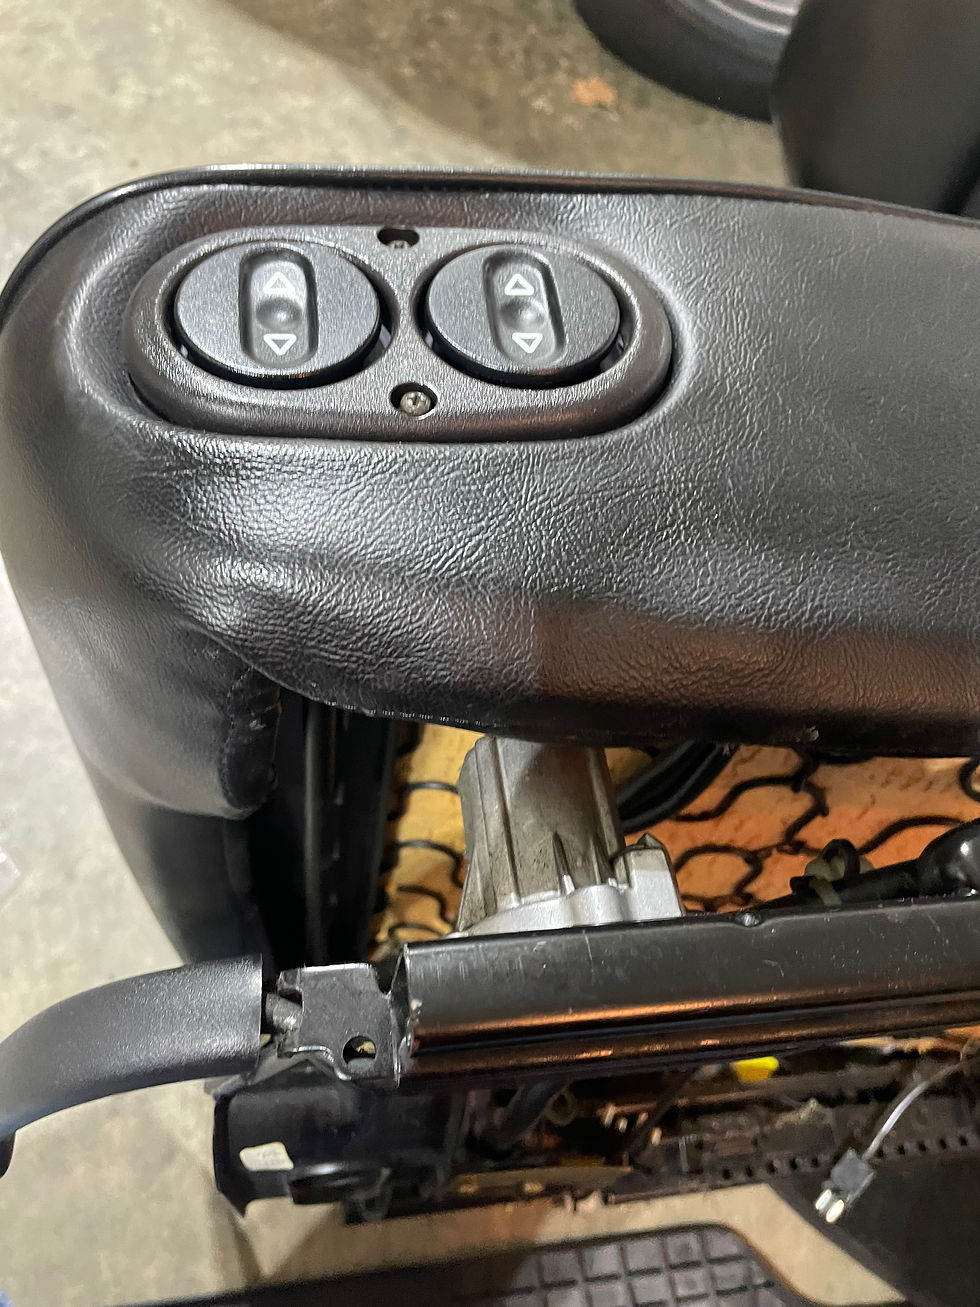
The internet had some stories about folks getting lucky and being able to clean the switch out, so I unscrewed the cover, and then the bracket that holds the switches and that let me angle the switch head enough to see the access hole. I gave it a nice shot of DeOxit D5 (never, ever use WD40 for electrical stuff) and worked it around, but no joy. I also did not hear any clicking, so I think the micro switch inside died. Worth a try. These switches are in a bad spot with respect to dirt etc.
Switch: 928-613-183-00
I ordered new switch (both switches in both seats are the same) and while I waited I searched the web for seat fixing stories. All in all, they were pretty helpful. Nothing is horrible, just a pain in the neck. To keep it brief, I will just comment on the pics from our adventure this morning. The Porsche website has the parts catalog for the car, but there is a separate catalog for the seats you might also want to make sure you have. It is called, "Seats 944/968/911/928" (I attached it at the end of this doc as well)
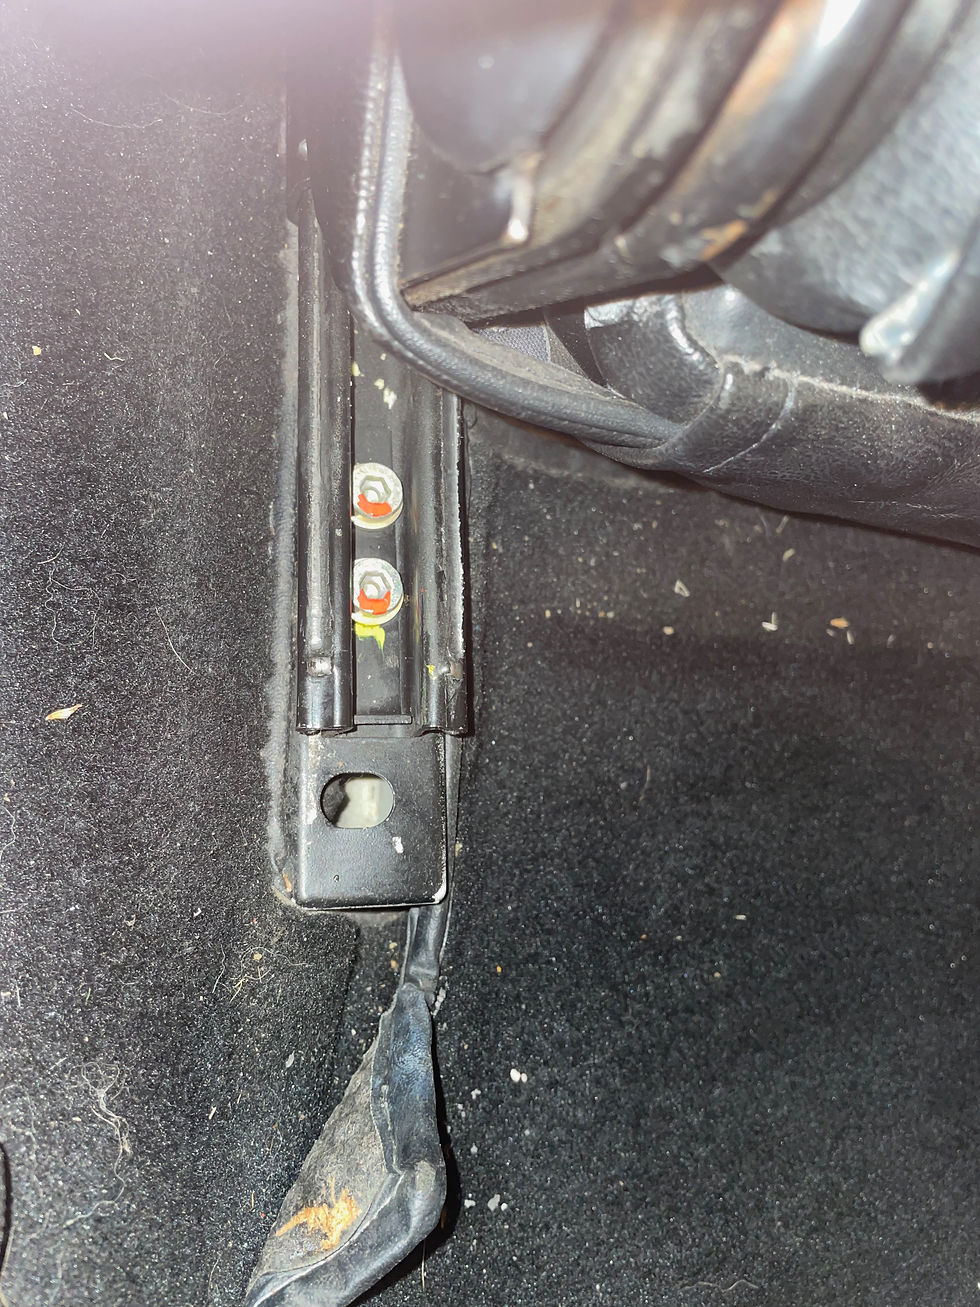
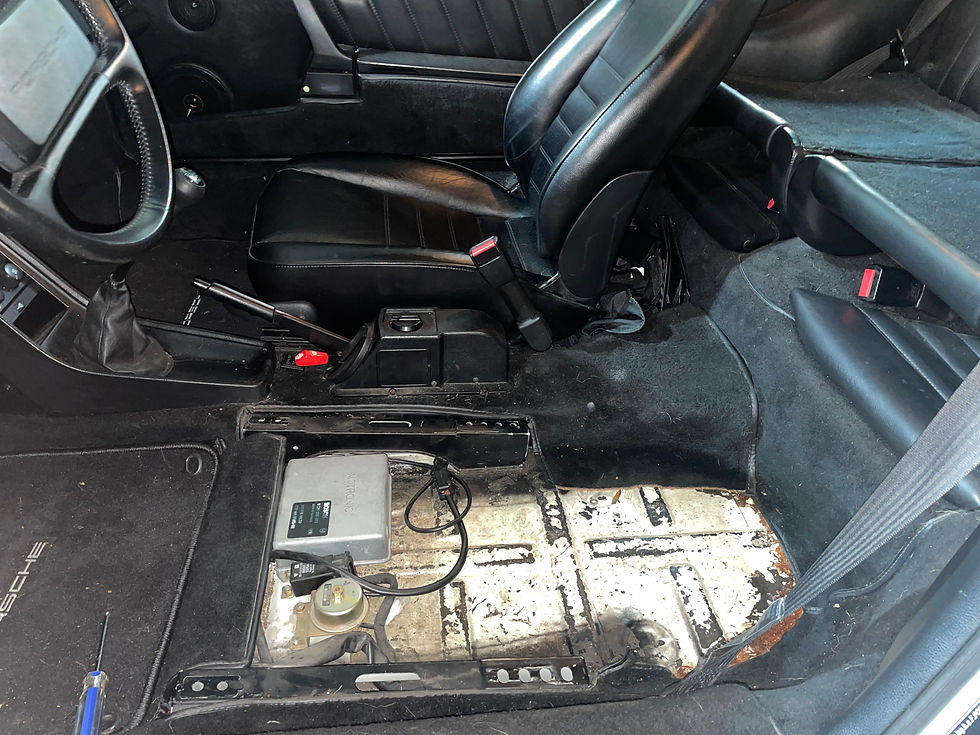
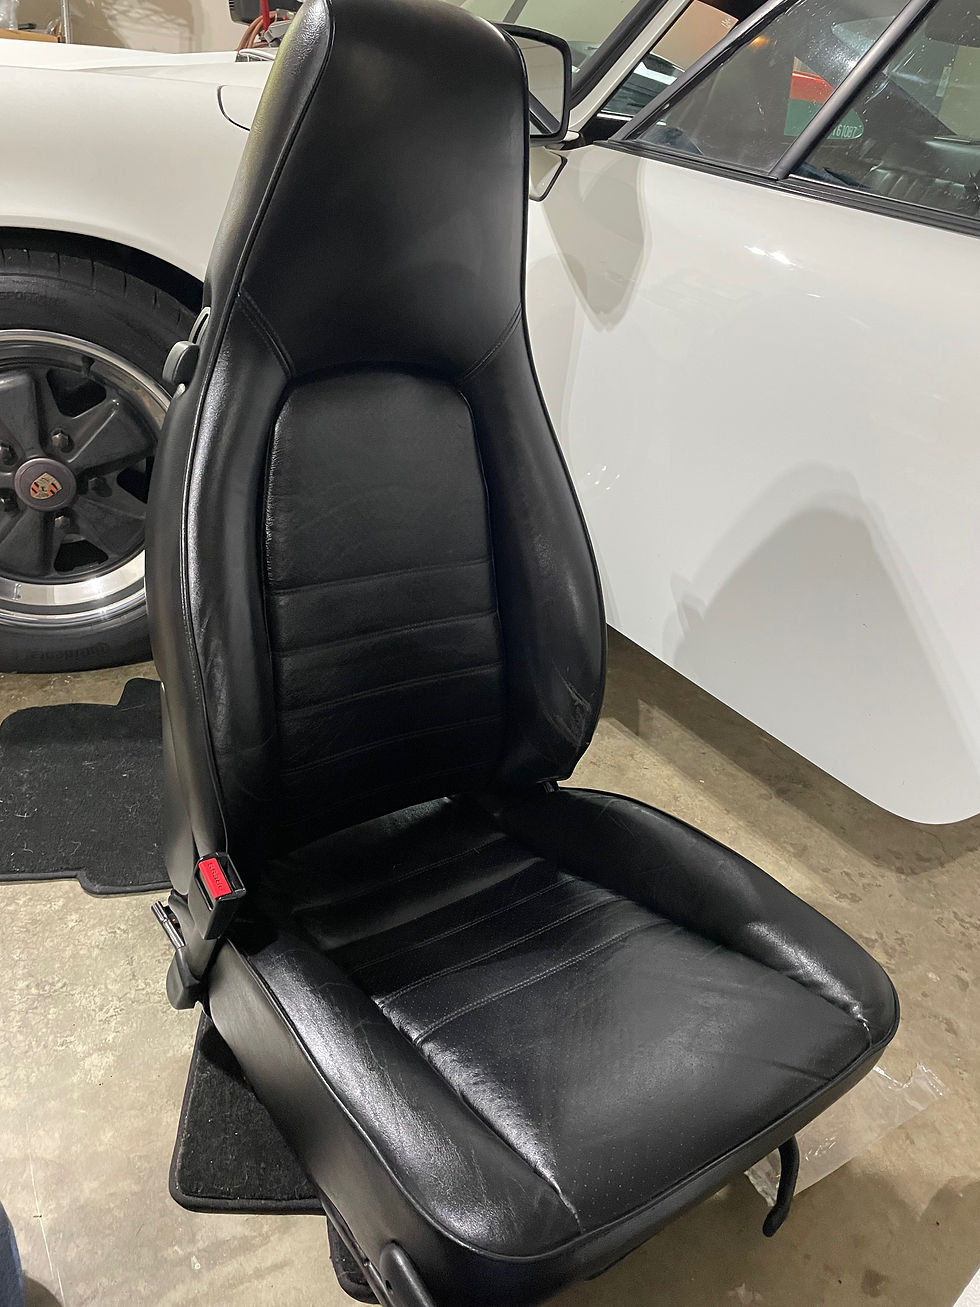
The "before" shots. Not bad for 35 yo leather seats. The driver's seat is the patient today. Step 1 is to slide the seat all the way back and take out the front bolts. You need a 6mm hex wrench for these.
front left bolt, before.
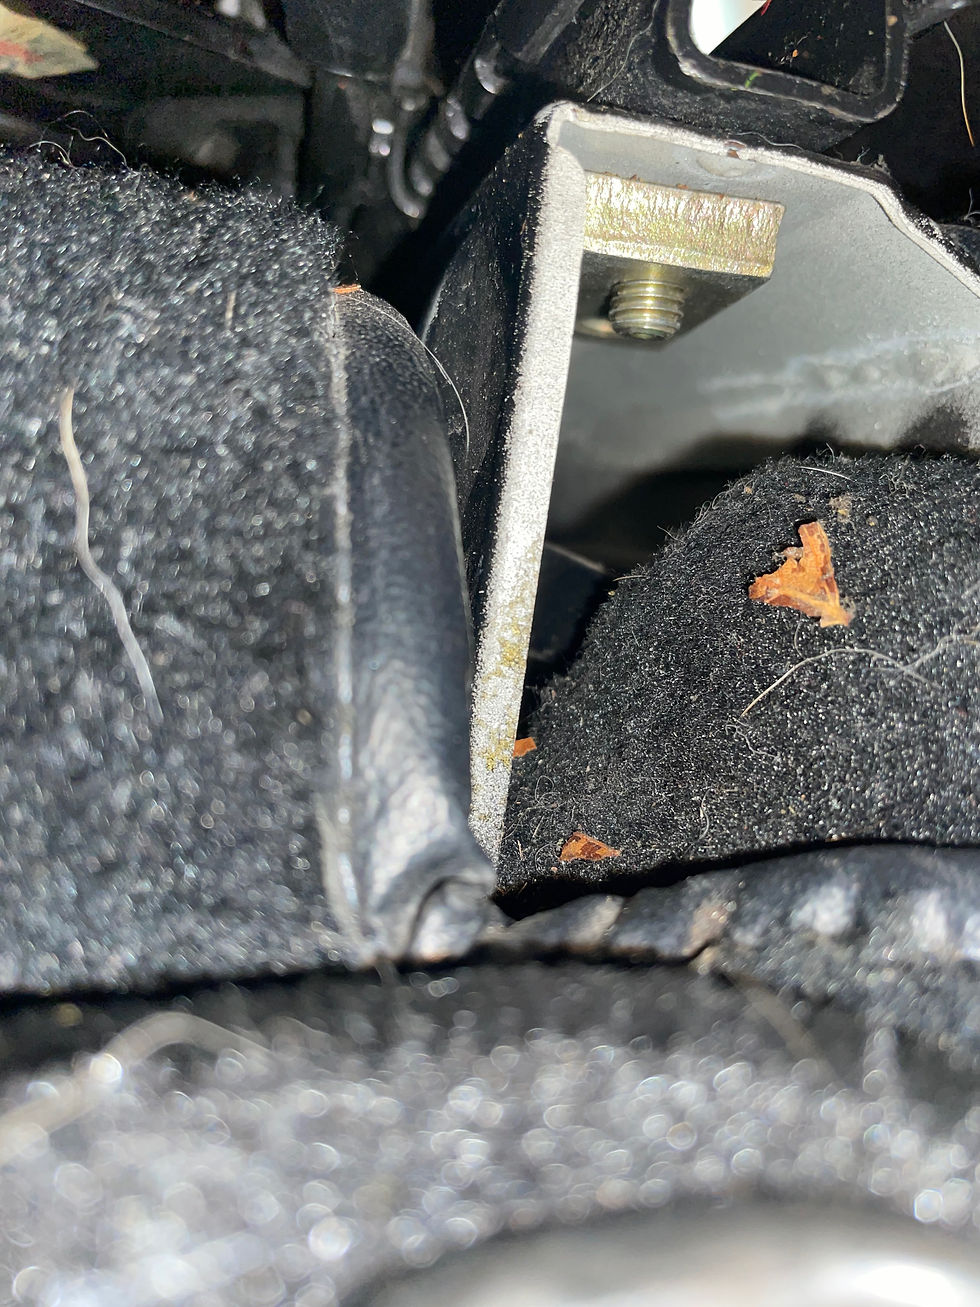
Here's the anchor block beneath it. The seat bolts hold them in, so you'll want to support them as you remove the bolts, or you get to go fishing. This is that front outside corner.
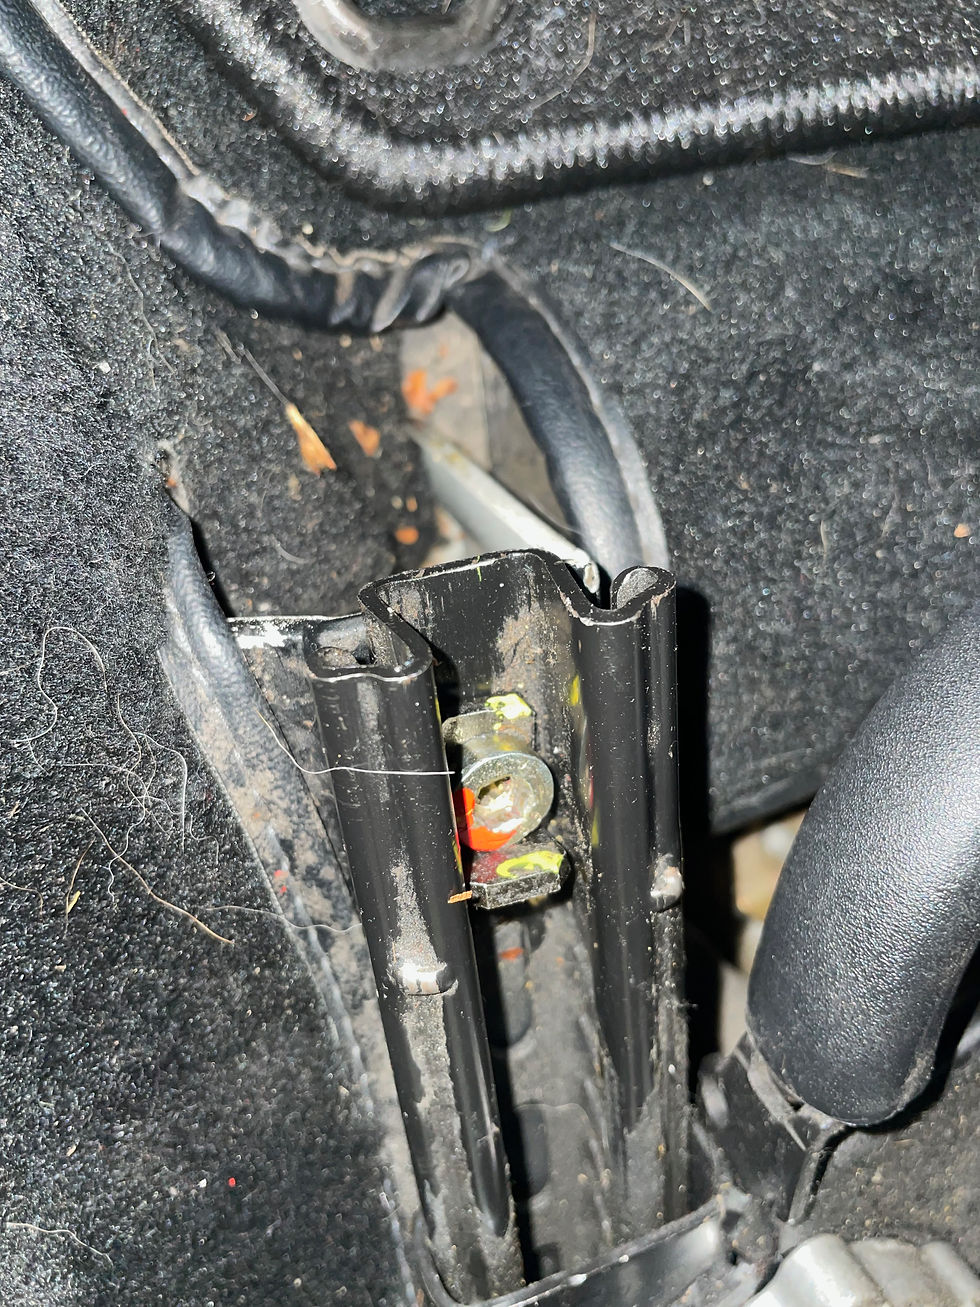
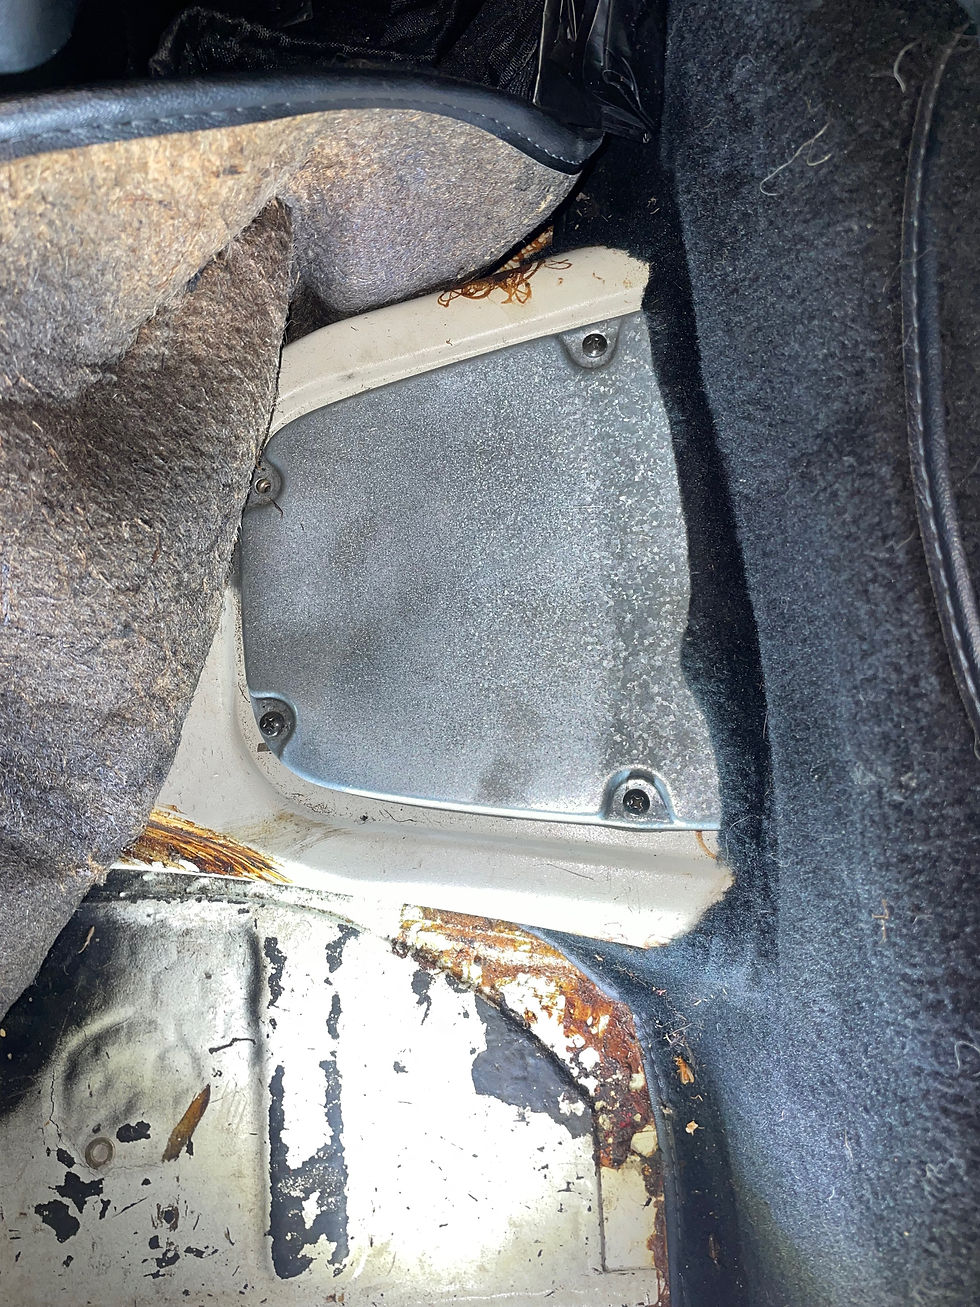
Step 2 is to slide the seat all the way forward and remove the rear bolts. This are the rear left (outside) bolts. These were a pain both because the carpet is glued down in the way but there is also a large electrical harness running in the channel the seat bolts to. This makes it hard to maneuver the block the bolts go into.

...and of course I dropped it in there and had to fish it out. Not too bad though.
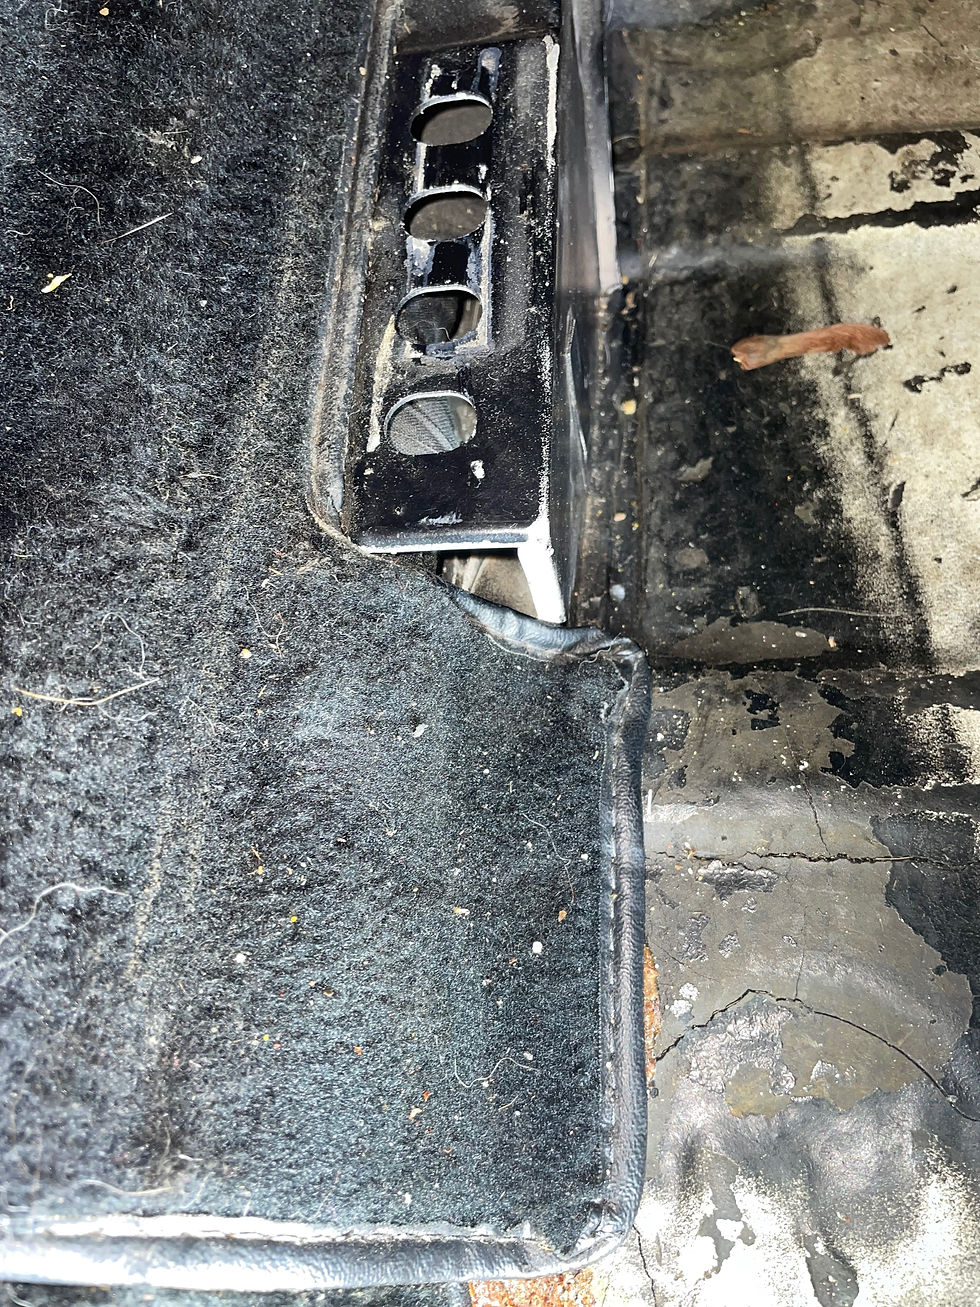
a better view of that channel. I pulled up the carpet a bit to get things back together. You can see the electrical harness through the holes. It's tight.
Step 3 is to fold the seat back down, and tilt it back so you can get to the electrical connectors beneath. Remove them both and take the seat out of the car.
There are just two electrical connectors once the bolts are out. The little one needs to have the clips pried back, the big one is like a sandwich, it's a little funky.
See what treasure the years have left you under the seat...
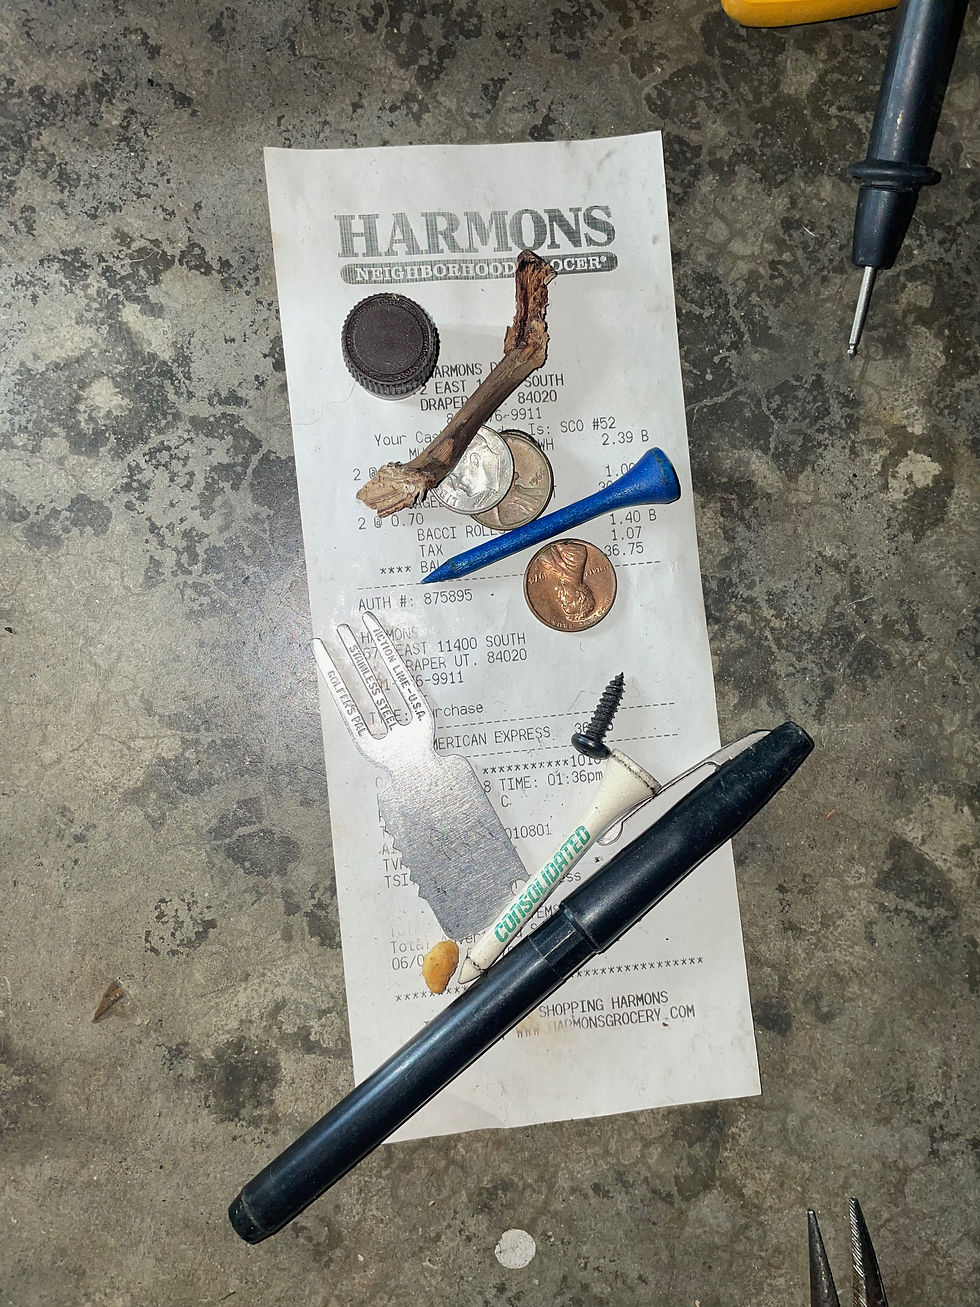
Some lost car hardware, some golfing junk and 12 cents. I was really hoping for at least $10 in loose change.

A little OCD? Maybe, but Im used to pulling entire cars apart. There is a lot to forget, even on a tiny job like this. So I laid out the anchor blocks as I found them for later.
Ok, party time. Lay down something soft to put the seat on. I used some old floor mats.
I removed the bezel and it was now pretty clear someone had been here before. <sigh> 2 screws and they not only lost them both but then only replaced 1 and with the wrong part. Classy. :(
...and here as well. This is where the transmission linkage is. Missing screw from the factory? I don't think so.
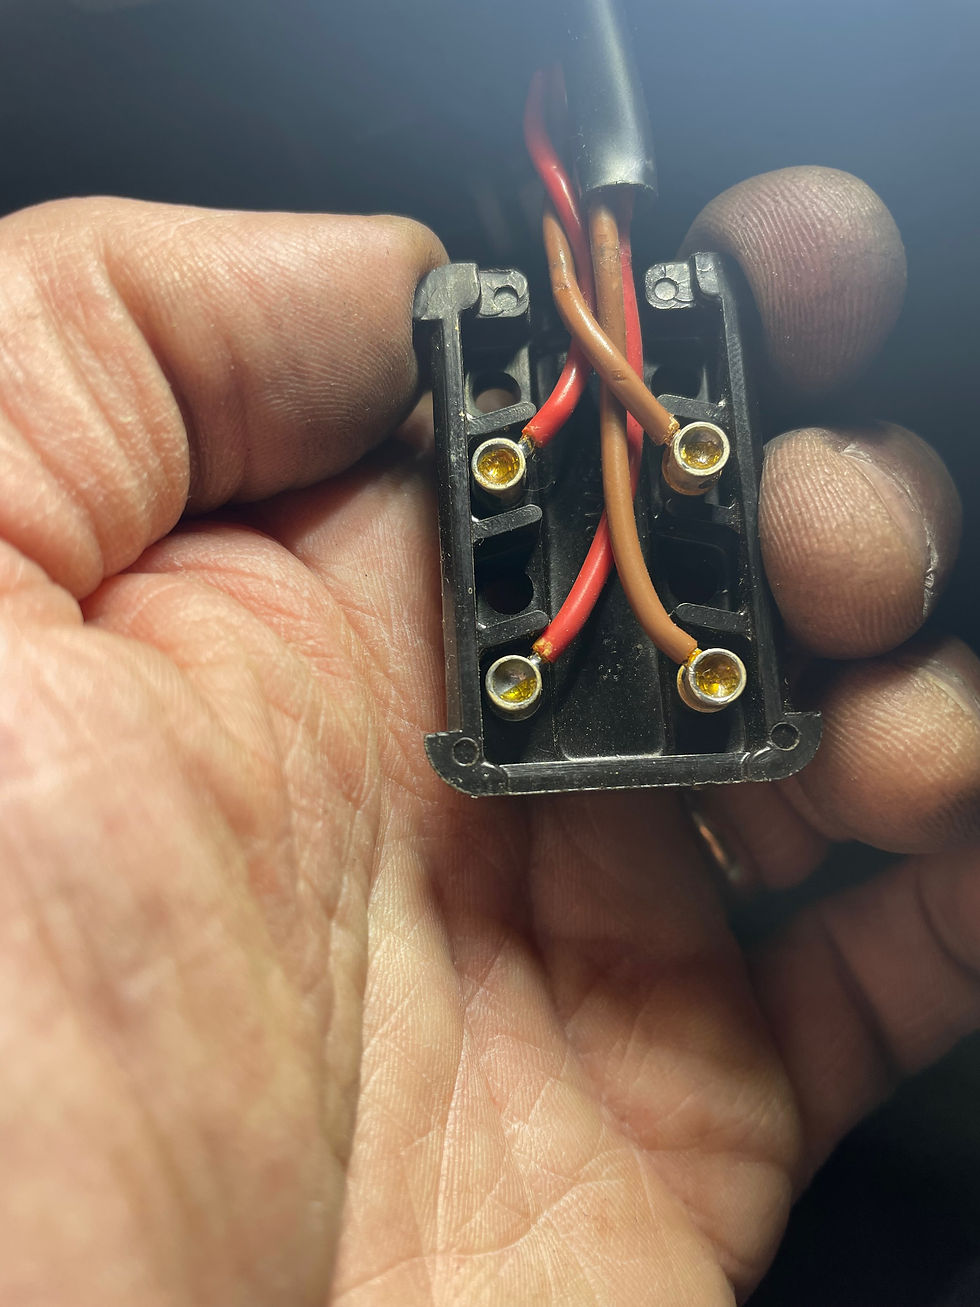
On the seat switch, there are two wires with push on connectors that go to the motor. The other 2 wires run to this funky 4-pin plug. You have to gently pry the cover off. The front seat switch connections are the bottom two in this shot. I used plastic jawed pliers to put the cover back on. Nothing holds those pins in, so go slow.

This is how the switch comes out - push on those 2 clips on the side and it pulls out. You have to disconnect the wiring - the 2 pins in the 4-pin connector and the 2 wires on the motor and pull the thing out. That little round hole between the clips is where you shoot in contact cleaner if you are trying that route first.

This is the upper LH corner of the seat where the wires fish through from the panel. It's tight getting under that bracket and through the foam.
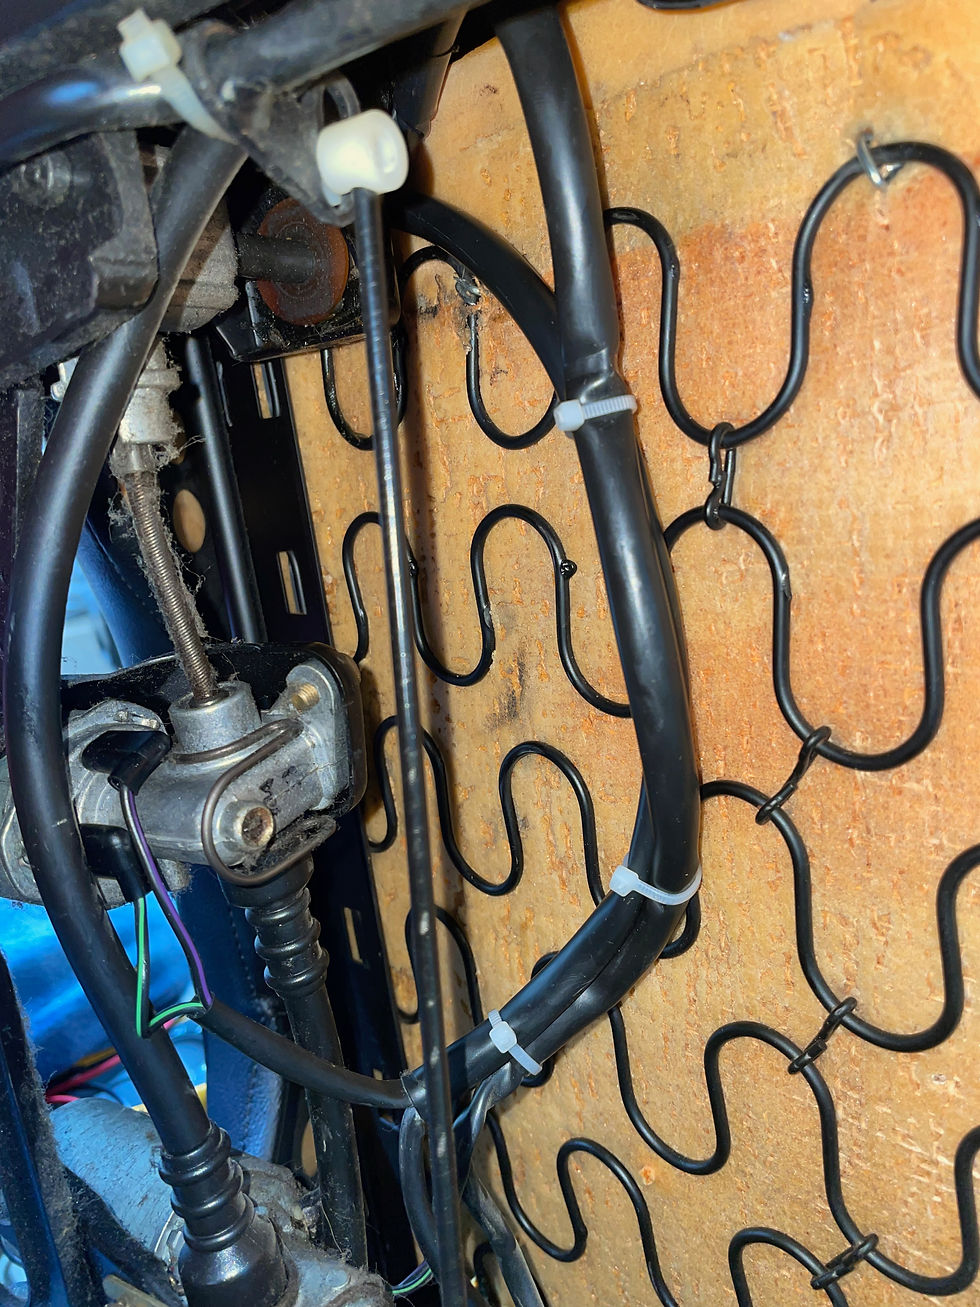
I put on new tie wraps once I was done to make sure the wiring doesn't move around. The motor in this shot shows you the orientation of the wires - "blue" on top (or to the outside if the seat was in position) If you reverse the wires the motor will probably turn the opposite way. I don't think you can blow anything up here. (I did not test this theory.)
Of course I cleaned the seat while it was out and I could get to all the spots that are tricky when its in place.
You can place the seat back in the car and connect the two electrical cables. The seats work with the ignition off, so you can test before you start to bolt it back in.
Just watch your rails (they can slide around - I like to use painters tape to hold them in place).
Have fun and hopefully your seat will work again like mine did!
References:
Special thanks! https://dorkiphus.net/porsche/showthread.php?t=35258
Seat Parts Catalog:
Comments